What is Edge Banding?
Author Chigwell Building & Joinery
Date 12/01/22
Each piece of furniture is made in a unique way.
Sometimes the small details are not noticed, as is often the case with edge banding.
Despite this, there is no denying that without edge banding the look of a particular furniture piece would not be as aesthetically pleasing or as neat.
Read on to find out more, or use a jump link below to skip to a desired chapter:
Table of Contents
- What is Edge Banding?
- Where is Edge Banding Used?
- Types of Edge Banding
- Tools Required
- Preparing the Surface
- Applying Edge Banding
- Finishing
- Conclusion
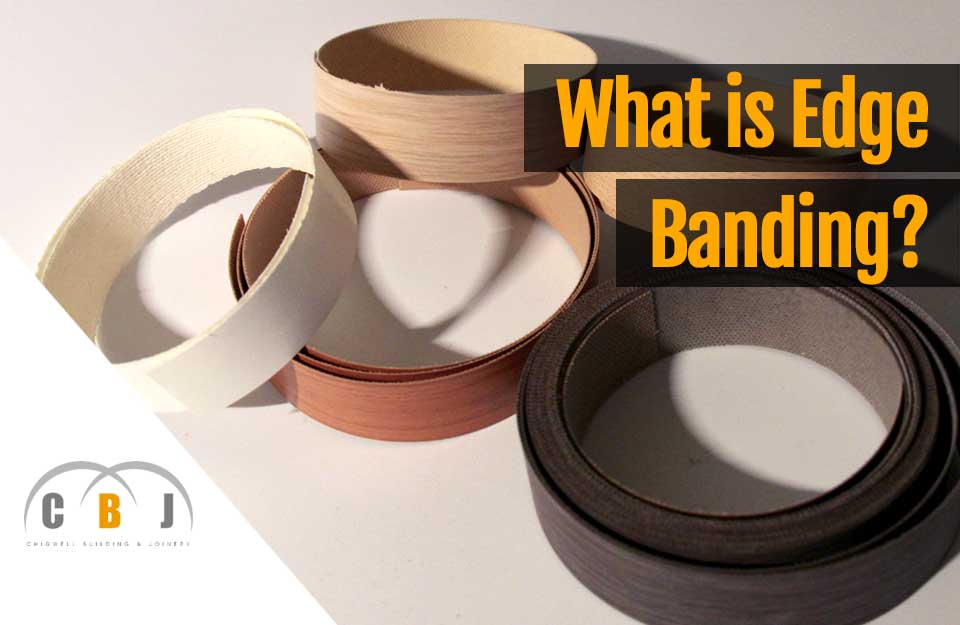
What is Edge Banding?

Edge banding is the decorative material that is used on the exposed edges of furniture in order to cover and seal the wood.
It is generally used on MDF, plywood and melamine coated particle board, whose edges look rather rough.
The process to apply edge banding is referred to by the same term.
Traditionally, the edge banding process used to be carried out with basic carpentry tools.
But over the years, the process has become more automated by means of hot-melt adhesives.
Where is Edge Banding Used?

Edge banding is mainly done to cover the sides and edges of furniture made from plywood and MDF.
These cheaper materials can be made to look just like real solid wood thanks to edge banding.
Besides improving their look, it also helps to increase the edges’ durability.
Edge banding is part of most furniture manufacturing companies’ production processes.
In such cases, it’s an automated procedure where hot-melt adhesive is used.
However a roll of edge banding can also be bought so anyone can apply it to plywood or MDF boards with some basic tools.
Edge banding is produced by some renowned manufacturers such as Rehau, Tece and Doellken.
These use a process called thermoplastic edge banding.
This is carried out by means of an extruder.
This is basically a machine that consists of a loading system for the various raw materials such as PVC, ABS, PMMA and colour pigments.
These get transported through a dye, which shapes the edge banding into the required size.
Following this, the edge banding gets printed and texturised to achieve the desired finish.
It is then sold in rolls.
Types of Edge Banding
Edge banding is available in different types of materials as well as varying thicknesses.
In the case of low-use areas, such as a home office, edge banding measuring 0.5mm is usually enough.
But in the case of higher-use areas such as kitchens, 1mm edge banding is more recommended as it’s more durable.
Thicker edge banding such as 3mm, is used for commercial jobs as in such cases longevity and durability are essential.
Apart from the various thicknesses, the two main types of edge banding are:
PVC Edge Banding

PVC edge banding is the most popular variety, especially when it comes to pressure laminated and melamine cabinets.
PVC edge banding is mainly made from thermoplastic resin.
This material is both durable as well as flexible.
To offer different varieties of edge banding, other materials as well as pigments are added to provide a broad range of colours, textures and woodgrains.
Veneer Edge Banding

This type of edge banding is made from real wood veneers.
These are pre-sanded and layered together.
Veneer edge banding can be found in finished and unfinished varieties.
This is due to the fact that the choice mainly depends on whether it will be applied to plywood that will be painted or stained, or otherwise.
Tools Required
You do not need any specialised carpentry tools to apply edge banding.
The most straightforward option is to apply it using an edge banding machine.
Such an automatic machine is used in commercial settings where lots of furniture pieces are being manufactured and finished.
In such cases, a precise application of edge banding is carried out easily and quickly.
However, if you’re a DIY enthusiast and need to apply some edge banding yourself, you do not need such a machine, or any specialised tools either.
In fact, all you really need is a clothes iron, an edge trimmer and glue.
You will also need a piece of sandpaper and a pair of scissors.
A chisel and mallet will also come in handy.
Preparing the Surface
The most important step is to prepare the surface area.
You need to make sure that the edge which will be covered with edge banding is as smooth and as flat as possible.
So you will need to get rid of any saw marks and rough bits by sanding it well.
Make sure that after sanding, you wipe off the dust and other residue from the surface well.
Next, cut a piece of edge banding which is around an inch longer than the length of the board’s edge to which you are going to fix it to.
To cut edge banding, you can use a pair of scissors or even simply fold it in two as it will snap easily.
Applying Edge Banding
Switch on your iron.
Ideally set it at a medium temperature, or a temperature that is suitable for cotton.
Start off at one side of the edge banding.
Press down with the iron and slowly move it along the length of the edge banding, until you eventually reach the other end.
Finishing
Once you are done there may be some ends of the edge banding overhanging.
To remove these, hold a chisel against the side edge and strike with a mallet to slice these parts off.
As soon as the adhesive has cooled and hardened, you can then trim the edges at the top and bottom so that the banding is completely flush.
A flush trimming tool is ideal for this task as you will just need to press it against the panel, slide it forward and cut.
Alternatively you can use a chisel.
Once the trimming is completed, sand the top and bottom faces lightly with a piece of sandpaper, so that any rough bits that may be present where the panels meet the edge banding are smoothened out.
Conclusion
Edge banding can practically make a board seem like a piece of solid wood, but it will actually be at a fraction of the price of the latter.
Edge banding comes in various types, colours and thicknesses, to suit varying needs and preferences.
It offers increased durability and a more aesthetically pleasing result, and so it’s widely used these days.

