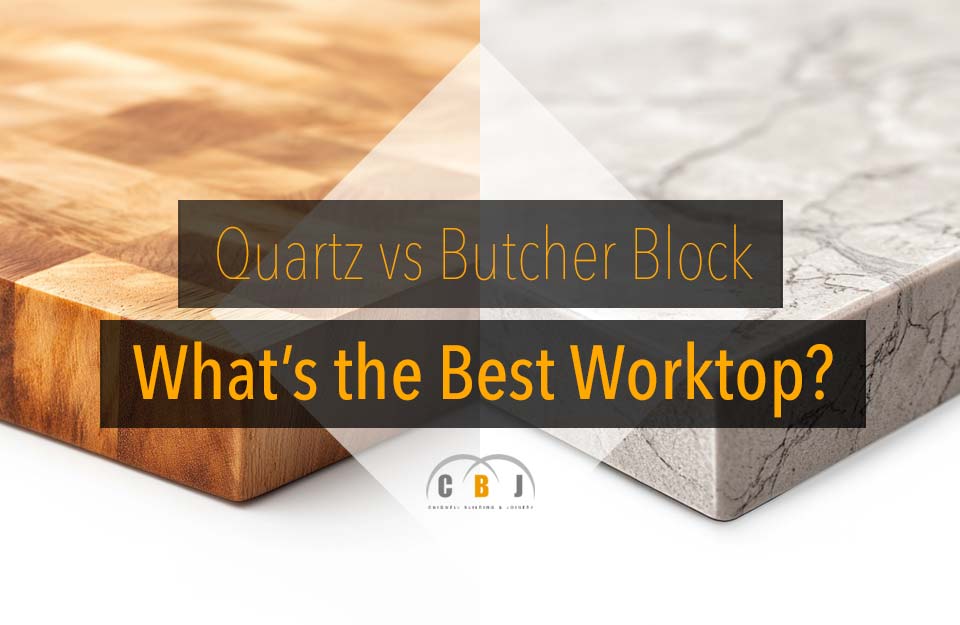
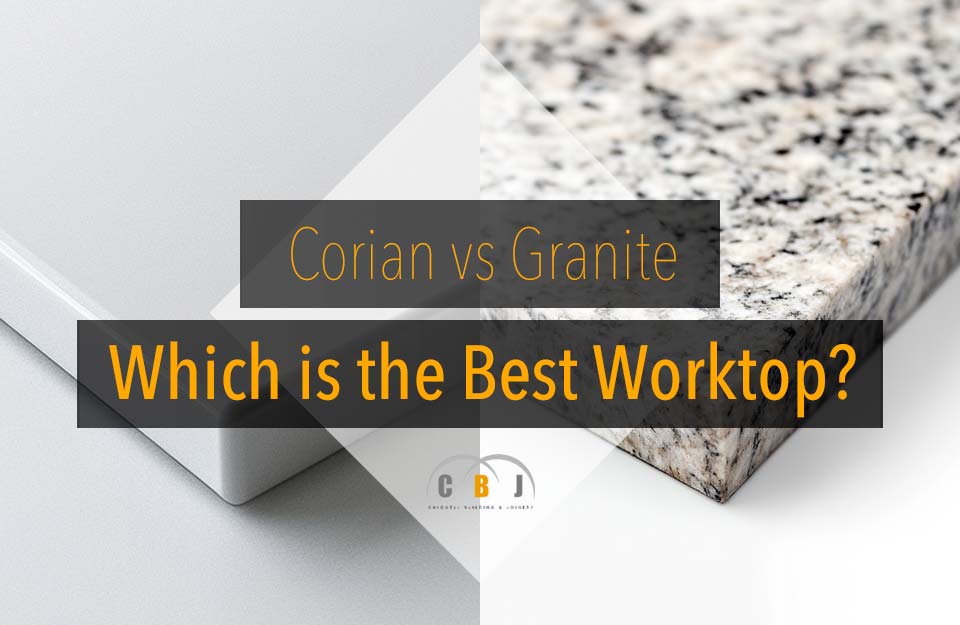
When it comes to choosing the ideal worktop for your kitchen or bathroom, Corian and granite are two of the most popular options.
Both materials offer unique benefits, but the decision of which one is better for your home depends on your needs, style preferences, and budget.
In this article, we will compare Corian and granite worktops, covering everything from appearance and durability to maintenance and cost, helping you make a well-informed decision on which is best for you.
Table of Contents
- What is Corian?
- What is Granite?
- Origin
- Appearance
- Imperfections
- Durability
- Stain Resistance
- Mark and Scratch Resistance
- Maintenance and Care
- Heat Resistance
- Strength
- Longevity
- Water Resistance
- Design
- Installation
- Cost
- Conclusion
What is Corian?

Corian is a brand of solid surface material made primarily from acrylic polymer and natural minerals.
It was developed by DuPont in the 1960s and has since become one of the most widely used materials for kitchen and bathroom worktops.
Corian is a non-porous, versatile surface that can be moulded into virtually any shape, making it perfect for custom designs.
It can mimic the appearance of natural stone, but it is easier to work with due to its pliability.
Additionally, Corian is available in a wide range of colours and patterns, giving homeowners a broad selection to choose from.
One of the standout features of Corian is its seamless appearance.
Because it is a solid surface, it does not require joints or seams, creating a smooth, continuous look.
This also means that there are fewer places where dirt, bacteria, and moisture can accumulate, making it a more hygienic option in some cases.
What is Granite?

Granite is a naturally occurring igneous rock composed mainly of quartz, feldspar, and mica.
It has been used for centuries in construction and is particularly popular in kitchen worktops due to its stunning aesthetic appeal and durability.
Granite is quarried in large blocks and cut into slabs, which are then polished and shaped to fit your desired design.
Granite worktops are known for their unique patterns and natural beauty.
Each slab is different, making granite one of the most sought-after materials for homeowners looking for a luxurious and timeless look.
Additionally, granite is an incredibly strong material, resistant to heat, scratching, and impact.
However, it is porous, which means it must be sealed periodically to maintain its integrity and prevent staining.
Origin
Corian is a manufactured product, combining acrylic polymers and natural minerals, designed to offer a versatile alternative to natural stone.
It is created in controlled environments, meaning it is available in a consistent range of colours and patterns.
On the other hand, granite is a natural stone that is mined from quarries around the world.
Its appearance is influenced by the minerals within the stone, resulting in unique patterns and colours that vary from slab to slab.
Appearance
Corian offers a sleek, modern look with an even, consistent colour throughout the surface.
It can imitate the look of natural stones like marble or granite, but it is not identical.
Corian’s appearance is uniform, which some people prefer, while others may seek the natural variations that granite provides.
Granite’s appeal lies in its natural beauty, with each slab boasting its own one-of-a-kind pattern, ranging from subtle to bold.
Some people find the natural imperfections in granite more attractive, as it creates a more organic and authentic feel in the space.
Imperfections
While both Corian and granite are high-quality materials, each has its own set of imperfections.
Granite is naturally porous and can develop cracks or chips over time, especially if heavy objects are dropped on it.
It also tends to show small fissures and variations in its surface, which many consider part of its charm.
Corian, however, is non-porous and more resistant to visible imperfections.
However, it can be scratched or gouged, especially if sharp objects are used directly on its surface.
The good news is that Corian can be repaired easily by a professional or, in some cases, by homeowners themselves.
Durability
Granite is renowned for its durability.
It is one of the hardest materials available, able to withstand heavy use, heat, and impact.
This makes granite an excellent choice for high-traffic areas like kitchen countertops.
However, it is not invincible.
Over time, granite can be scratched or chipped if exposed to sharp objects or excessive force.
Corian is also a durable material, though not as resilient as granite.
While it can handle everyday use and is resistant to stains and moisture, it is more vulnerable to scratches and gouges.
Corian surfaces are not as resistant to heat as granite, so care should be taken to avoid placing hot pans or appliances directly on them.
Stain Resistance

Corian is non-porous, which makes it highly resistant to stains.
Liquids like wine, coffee, or oils are less likely to seep into the surface and leave permanent marks.
Any stains that do occur can typically be wiped away easily.
On the other hand, granite is porous and can absorb liquids if not properly sealed.
This makes granite more susceptible to stains, especially from oils, acidic substances, or coloured liquids.
Fortunately, with proper sealing and maintenance, granite worktops can become more resistant to staining.
Mark and Scratch Resistance
Granite is extremely resistant to scratches due to its hard surface, making it ideal for use in busy kitchens.
However, it is not completely scratch-proof, and using knives directly on the surface can leave marks over time.
Corian, while durable, is more prone to scratching and damage.
Sharp objects, such as knives, can easily leave marks on Corian surfaces.
The advantage of Corian is that scratches can often be repaired by sanding down the area, restoring it to its original appearance.
Maintenance and Care
Granite requires a little more maintenance than Corian.
Because it is porous, it must be sealed upon installation and resealed every one to two years, depending on usage.
This helps to prevent staining and damage.
Routine cleaning involves wiping down the surface with a soft cloth and a mild detergent, while heavy-duty cleaning may require a special granite cleaner.
Corian, being non-porous, is easier to maintain.
It does not need to be sealed, and it is resistant to mould, mildew, and bacteria.
Regular cleaning with a damp cloth is usually sufficient to keep Corian in good condition.
However, it is important to avoid placing hot pans or heavy objects directly on the surface, as this can cause permanent damage.
Heat Resistance

Granite is highly resistant to heat and can withstand hot pots and pans without sustaining damage.
This makes it a popular counterop choice for your kitchen cabinets, where heat resistance is important.
Corian, on the other hand, is not as heat-resistant as granite.
Placing hot items directly onto a Corian surface can cause it to warp, discolour, or crack.
Therefore, it is advisable to use trivets or hot pads to protect the surface from direct heat.
Strength
Both materials are strong, but granite is generally considered stronger than Corian.
Granite’s natural composition gives it a significant amount of strength, allowing it to withstand heavy impacts.
Corian, while durable, is less resistant to damage from forceful impacts or heavy objects.
However, its flexibility allows it to be moulded into more intricate designs, which granite cannot achieve.
Longevity
Granite is incredibly long-lasting.
With proper care and maintenance, granite countertops can last for decades, making them a wise investment for homeowners.
In contrast, Corian has a shorter lifespan.
Although it is a durable material, it may require replacement sooner than granite, particularly if it sustains significant damage or wear.
Water Resistance
Corian is fully water-resistant, making it an excellent choice for areas with high moisture, such as bathrooms or kitchens.
It will not absorb water, reducing the likelihood of warping or damage from prolonged exposure to moisture.
Granite, while resistant to water to some extent, is still porous and requires sealing to prevent water from soaking into the stone.
Design
Corian offers unmatched design flexibility.
Since it is a solid surface, it can be moulded into virtually any shape, allowing for seamless joints and custom features.
It is available in a wide range of colours and finishes, which means it can fit into any design scheme.
Granite, being a natural stone, is limited in terms of design flexibility.
While it is available in a variety of colours and patterns, it cannot be shaped or joined in the same way Corian can.
Its appearance is also more natural, with variations that can sometimes be more difficult to control.
Installation

The installation process for both Corian and granite requires professional expertise.
Granite worktops are heavy and may require additional support, especially for large countertops.
Installation can be more complex due to the need for precise cuts and sealing.
Corian, being lighter and more flexible, is easier to work with and can be cut and shaped on-site.
Both materials require professional installation to ensure a high-quality finish.
Cost
Granite is typically more expensive than Corian, both in terms of material costs and installation.
The price of granite depends on factors such as quality, rarity, and the specific type of granite chosen.
On average, granite can cost between £300 and £500 per square metre.
Corian, being a synthetic material, tends to be less expensive, with prices generally ranging between £200 and £350 per square metre.
However, the final cost of both materials will depend on factors such as the design, installation complexity, and location.
Conclusion
When it comes to choosing between Corian and granite, the best worktop depends on your specific needs and preferences.
Granite is an excellent choice if you are looking for a natural, durable material that will last for decades and withstand heat and heavy use.
On the other hand, Corian offers a versatile, low-maintenance option with superior design flexibility and resistance to stains.
Ultimately, your choice will depend on your budget, design preferences, and how much maintenance you are willing to invest in the long term.