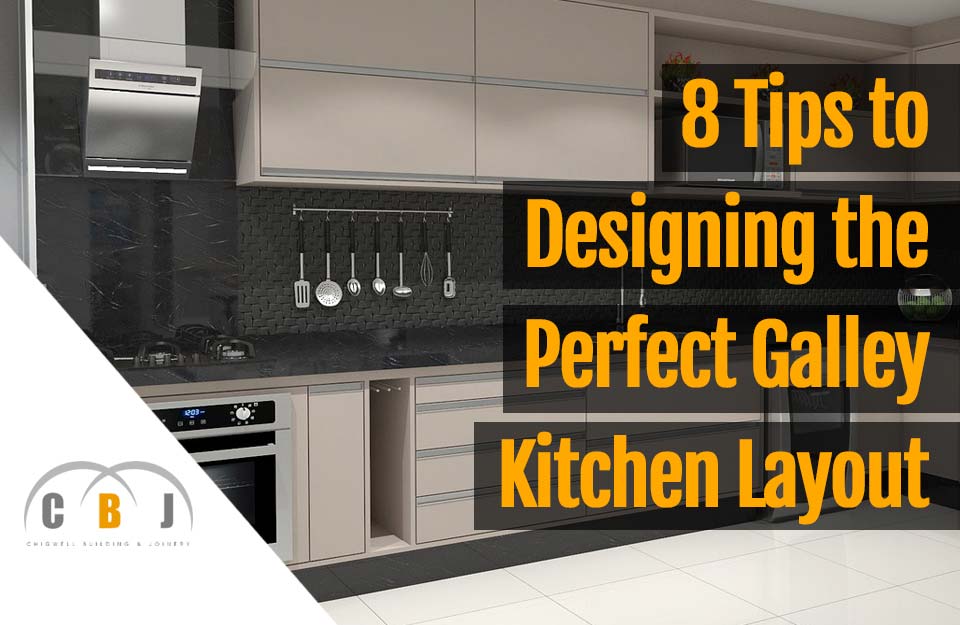
If your kitchen area is narrow or limited for space, sometimes the design and layout choices you have are extremely limited.
Long narrow kitchens are a prime example and in this instance, a galley wall kitchen is most likely the one and only solution.
You may feel as though this limits your ability to be creative and integrate a number of features that a larger room allows. But with some ingenuity and creative thinking, a galley kitchen can in fact be a great success.
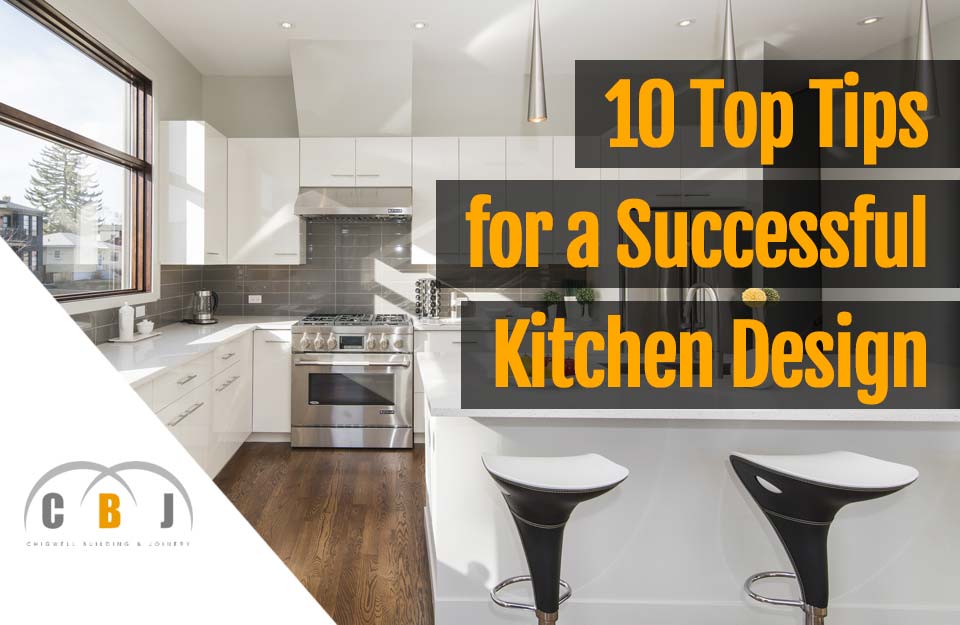
If you're yet to design your galley kitchen, this article explores 8 key considerations to making it work perfectly, whether you're a budding chef, a parent with a growing family or someone that likes to entertain friends and family.
Find out more about galley kitchen layouts below in the following chapters
Contents
- Maximising Space
- Single Wall vs Facing Walls
- Positioning Appliances
- Choosing Suitable Cabinets
- Tall Cabinets & Storage
- Appropriate Lighting
- Door Styles & Colours
- Eating & Socialising
- Conclusions
1. Maximising Space
The very first and integral part of designing the perfect galley kitchen is to maximise your available space.
You should favour using tall units, wall units and shelving to capitalise on the space you have.
Use as much ceiling height as you can, as this is less likely to impact on the usable floor area and give you that all important storage every kitchen needs.
Stacking integrated appliances such as ovens and microwaves on top of one another is a great space saver too.
Coupled with the use of pale colours and minimalist cabinets styles, you can create a more spacious look, and remove the corridor feel galley kitchens invariably have.
Make sure you have ample lighting too, whether natural or artificial.
This is essential to help enhance the kitchen layout and soften the look, giving a greater sense of openness.
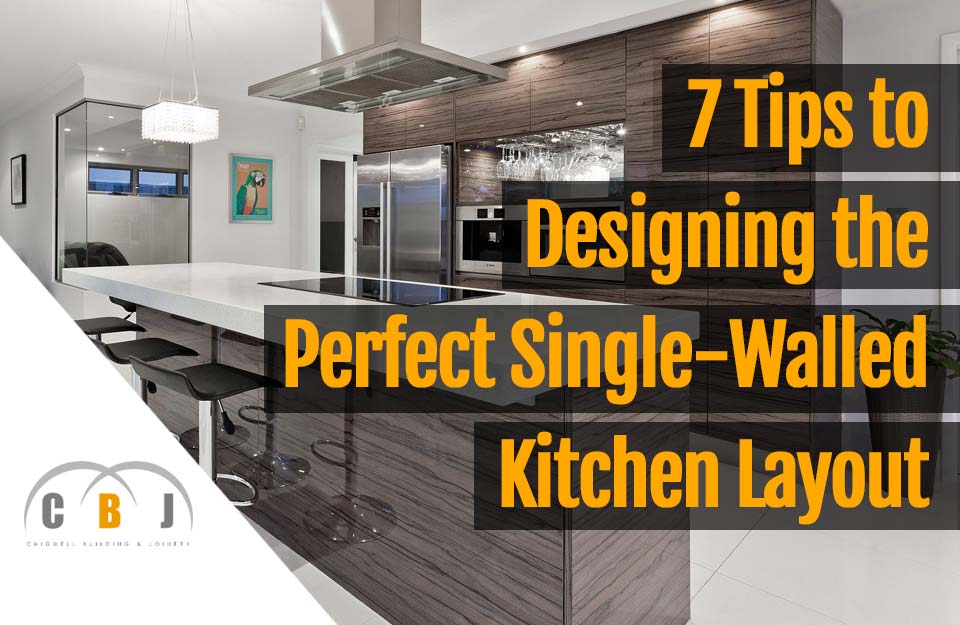
2. Single Wall vs Facing Walls
If you only have a single wall to work with, you will really have to think wisely about placement of cabinet, appliances and preparations areas.
It may seem like the impossible, but there are numerous examples of single wall kitchens that look stunning and really work.
In this situation, try to place bulky items at the extreme ends of each wall.
The refrigerator can be tucked away at one end whilst the oven and microwave can be placed at the other.
This approach ten leave the maximum amount of worktop space available to create a suitable preparation area, and to integrate a sink and drying area.
If however, you have the option to build your kitchen on two opposing walls, you thankfully have a little more flexibility to play with.
One wall can be designed as the cooking area whilst the other can be the cleaning and prepping area.
The key is to make your kitchen easy to move around, whilst being practical and useable.
Try to visualise how you'd like to use the room and the placement of appliances, cabinets, sinks and refrigerators will become more obvious to you.
3. Positioning Appliances
When choosing your appliance positions, a smart tip is to avoid placing them close to windows or even worse, in front of them!
Appliances are bulky, so they'll easily block a ton of natural light. This will make the room feel gloomy and small.
Another tip is to install your oven near or next to the sink on the exact same wall as each other.
Ensure that your refrigerator and high hanging wall cupboards are parallel to each other for easier manoeuvrability. Leave at least a meter between the sink and the oven.
Having the fridge within reach of the oven and sink is ideal to maximise space and the food preparation triangle.
4. Choosing Suitable Cabinets
The type of cabinets you choose will make your kitchen more visually appealing.
Many people are now choosing contemporary style slab cabinets that typically have inset handles.
These types of doors help to give the kitchen a sleeker look and of course, limit snagging handles on clothing as you walk past them.
Many cabinets come in a smooth gloss finish which helps to bounce light around the room, as well as give a cohesive finish that spreads across the length of the room.
Cabinets without handles will make the room feel longer and larger, whilst handles can become a nuisance if you brush into them when moving from cabinet to cabinet.
Cabinets with handles are now considered a little old fashioned. So if you want your kitchen to be modern and sleek, handleless is the way to go.

5. Tall Cabinets & Storage
As previously mentioned, tall cabinets are a great storage problem solver and can help use maxim space where no space seems available.
It's important to place cupboards and cabinets in a galley kitchen carefully to ensure you minimise overcrowding.
Too much will make the room feel cramped, but a few well placed full height cabinets with make the room feel taller and useable.
Every kitchen no matter the size needs to feel roomy enough to move around, whilst offering all the practicalities you'd expect.
Cabinets that feature pullouts, pull downs and clever integrated storage will maximise every inch of space you have, without feeling you have to cram as much in as possible.
6. Appropriate Lighting
In a room that feels small, light is your best weapon to making it feel spacious.
Make sure you allow as much natural light to flood the room as possible. So never block windows or place tall units or appliances adjacent to window openings.
As far as integrated lighting is concerned, install lights wherever possible.
As well as ceiling lights, experiment with integrated lights such as plinth floor lights, down lights onto counters and even shelf lights.
These look especially good during darker days or nighttime, where you can really illuminate the best features of your new kitchen and enhance the look to create a stunning visual experience.
7. Door Styles & Colours
In a galley kitchen, you'll want to choose a design and colour scheme that emphasises or creates the illusion of space.
Light and neutral colours are more suitable as they tend to bounce light around. Dark colours tends to make rooms feel smaller.
Not only will your cabinets choices affect lighting, but your countertops will too.
Granite and quartz surfaces are highly polished and again, will bounce light around the room.
Cheaper laminates and butchers blocks may be a more economical option, but they seldom help to make a room feel more spacious.
8. Eating & Socialising
Whether you regularly entertain or like to spend time in the kitchen enjoying breakfast or a light snack with the family, getting this aspect right is critical in a narrow kitchen.
On a single walled galley kitchen, its hard to find areas to sit and relax but there are clever ways to achieve this.
You could install a small narrow bench seating area along an adjacent wall or even integrate a folder table that is only used temporarily.
If the room allows, you may even be able to integrate a small section of countertop that hangs over one edge or at 90 degrees to the main work area.
By doing so, you can use a couple of stools and have a cosy seating area to enjoy drinks and small bites.
With a little imagination, there are ways to achieve all the must have's with a little compromise here and there.
Conclusions
It's fair to say that a galley kitchen is a difficult space to redesign.
With so few layout options as your disposal, it does seem like there's little that can be achieved that hasn't already been done before.
But don't despair. Modern kitchen units offer so much more storage and a style options that they do free up space that older units were incapable of.
Sometimes it's not just about the actual space available, but how you use it.
With some small adjustments and clever placement of the essentials, you can still create a stunning galley kitchen that ticks all the right boxes.
But following just some of the suggestion above, you should be able to create a galley kitchen that does all you need and more.